Learn how to create a range of data products with Measure's Pix4D Cloud integration
Introduction
Measure partners with Pix4D to create a range of outputs from aerial imagery, including orthomosaics, digital surface & terrain models, 3D point clouds, thermal, multispectral index files and composite maps, and more.
This article will describe how to process aerial imagery in Measure Ground Control.
Before Getting Started
Depending on your user account type, there will be certain limits on the number of maps that you can create. The breakdown is as follows:
- Free users - 2 data products/month
- Pro users - Unlimited data products/month
- Enterprise users - Custom plan
Getting Started
- To get started with creating a data product, log in to MGC (Measure Ground Control) on the web:

- After logging in, choose the Process Data option from the top of the Home screen:

- Select the Mapping and Photogrammetry option to continue.
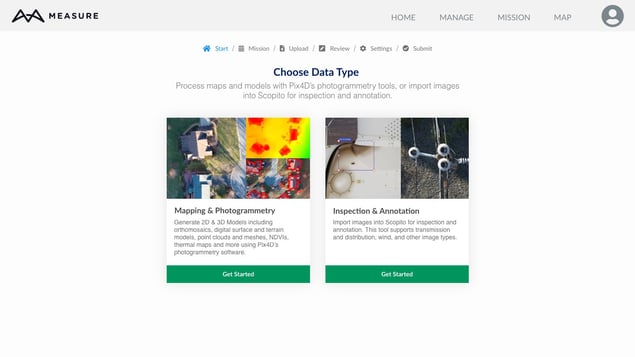
To learn more about our Scopito integrated image inspection and annotation tool, please click here.
Creating the Data Product
- Start by creating a new mission or choose an existing mission:
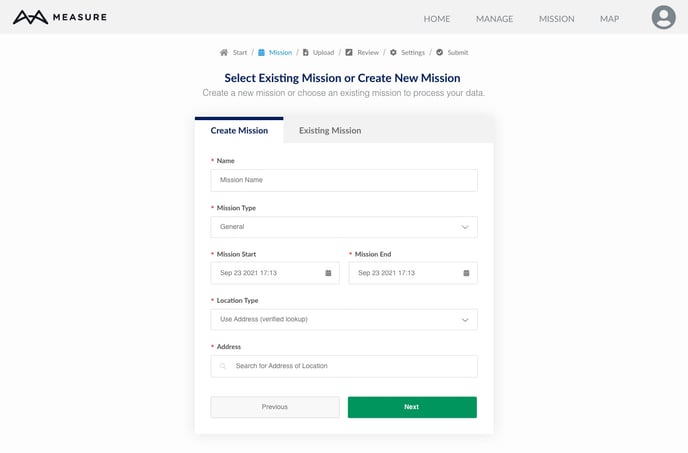
Note: We recommend choosing Use existing mission if the flight plan used is already tied to a mission to capture your data. To learn more about missions, click here. - Enter a name for the final data product and upload the imagery. Feel free to view the upload guidance if there are any questions in regard to file format or best practices:
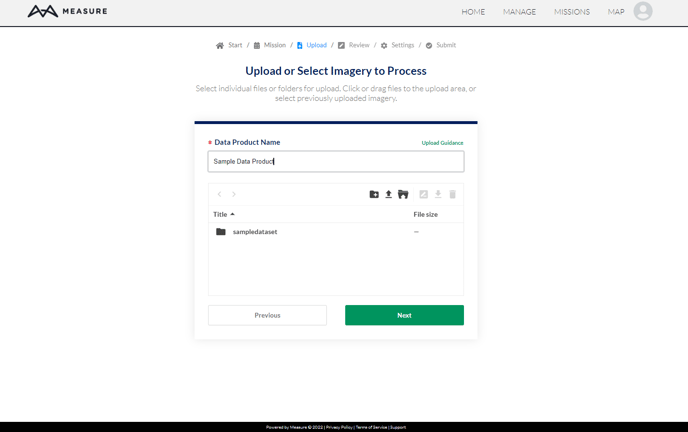
Note: Even if the imagery wasn't captured using the Ground Control mobile flight app, the Ground Control web application can still be used to process raw image data. Once the images are uploaded, Ground Control will keep the raw images stored in the account to reuse in cases where additional output types are needed. - Review the images that have been uploaded, and add Ground Control Points (GCPs).
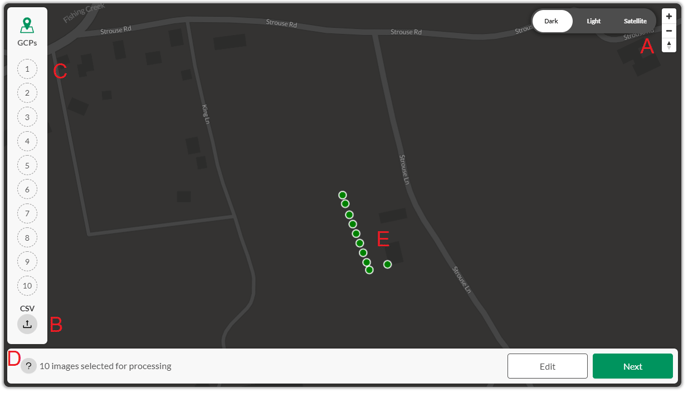
Let's review the interface on this screen:
- Map background selector (basemap, zoom, etc.).
- Batch GCP upload tool. Click here to learn more about GCPs (pro/enterprise customers only).
- Individual GCP upload panel. Click here to learn how to add GCPs individually.
- GCP guidance button - learn more about GCP requirements.
- Image overview list - shows the location of images on a map, as captured.
- To view an image, click on any one of the green dots, and a popup with an image preview will appear. To include the image, leave the Included toggle enabled, or toggle to disable to exclude, and ensure that the toggle button is grey.
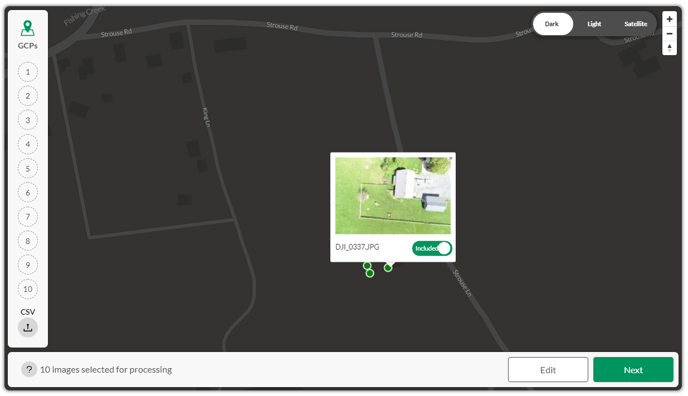
Note: the image popup window may take a few seconds to load, depending upon the size of the file. - Once the images have been set, configure the output settings in the processing options screens:
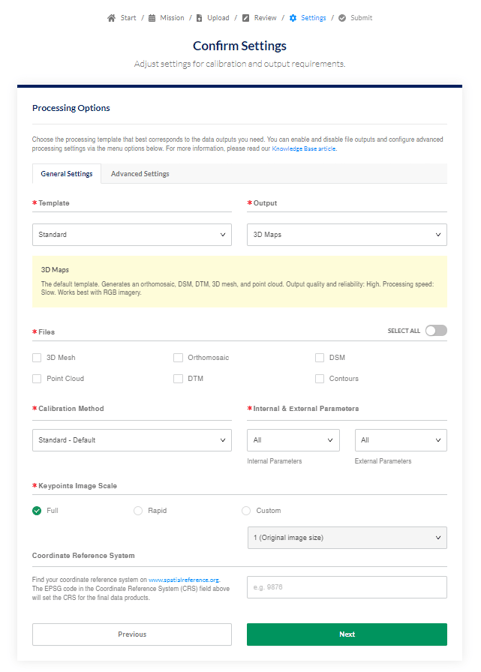
Processing Options - General Settings
- There are two processing template categories:
- Standard - to create high-resolution 2D and 3D data products.
- Fast - to create 2D and 3D data products with faster processing, but with lower resolution and accuracy.
- Choose the Standard template and the 3D Maps Output (the default options). The output options change depending upon the selections (noted below the drop-down menu):
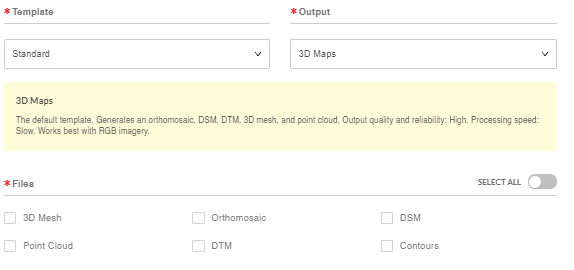
Each Output has a description regarding its use case and any data requirements associated with that processing selection. Please read each description carefully to ensure the desired data output can be generated.
Legacy Processing Settings:
Legacy Processing uses discrete multispectral index generation instead of on-the-fly generation. You must ensure that your imagery contains the necessary bands for the indices selected below, or else processing will fail. Legacy processing is only recommended for singly-grouped band multispectral cameras (e.g. Sentera) or if specific index files are necessary for download.
To enable Legacy Processing, select Ag Multispectral Output and toggle on Legacy Processing.
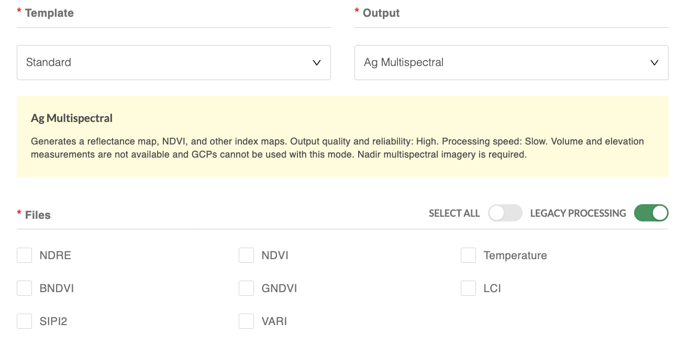
From here, choose the individual files to be generated, or click the Select All toggle to quickly select or deselect all files.
- The Calibration Method will be automatically set by default based on the Template and Output configuration. This can be changed as needed, for example, if the calibration needs to be set to Accurate for imagery captured using RTK/PPK technology.
- The Keypoints Image Scale can be left on Full, as defaulted. If you are experiencing issues with homogenous imagery like forests that are not stitching correctly, we recommend choosing custom and reducing the image scale:
- There is also an option to set the Coordinate Reference System (CRS). If a CRS value is not entered, or if the value is not set to WGS84, the nearest UTM Zone will be used for the data:

Processing Options - Advanced Settings
- To configure any additional settings, click on the Advanced Settings tab (optional).
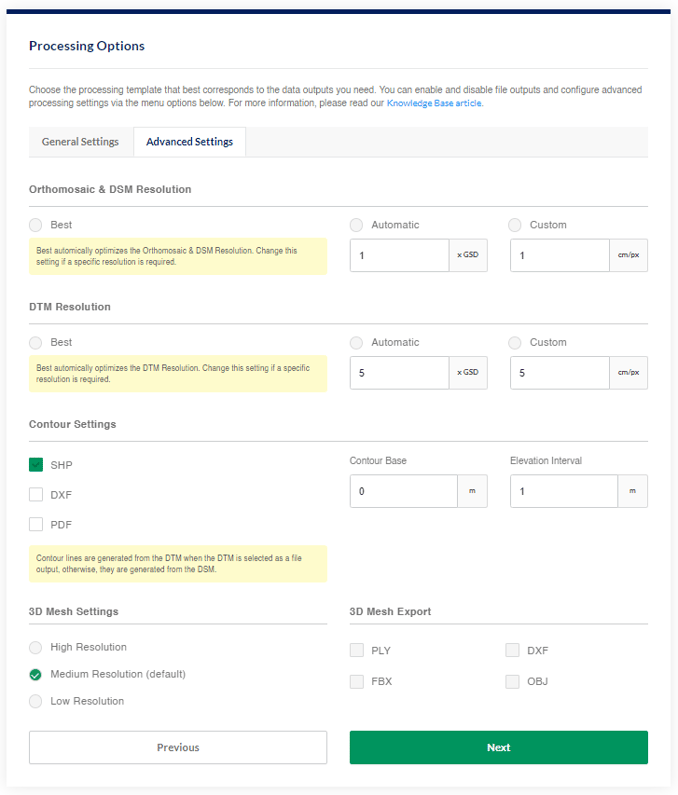
Advanced settings for options like custom resolutions for Orthomosaics, DSMs, and DTMs, different file outputs and intervals for Contours, as well as resolution settings and file outputs for 3D Meshes can be configured here.
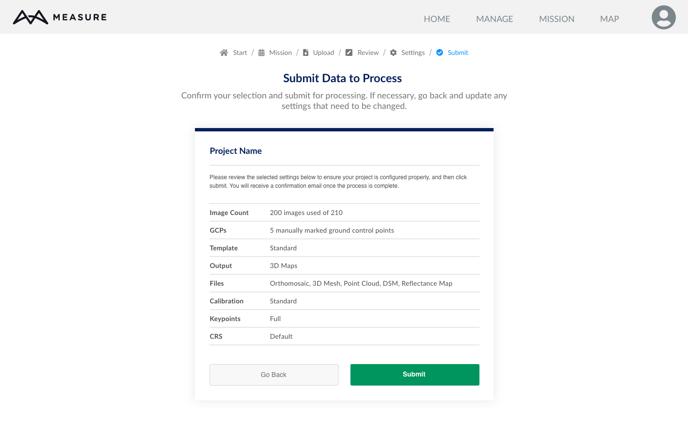
Note: If both the DTM and Contours are selected in the General Settings screen, the Contours will be based on the DTM. If the DTM is not selected, the contours will be based on the DSM. If no customization is needed, then all of the values will be set by default. - The final review screen will contain the main information about the data processing job. If something is not correct, please click back to the step in the workflow to make any changes; otherwise, click the Submit button:
- The confirmation screen should display, and a confirmation email will be sent to the email address associated with the account:
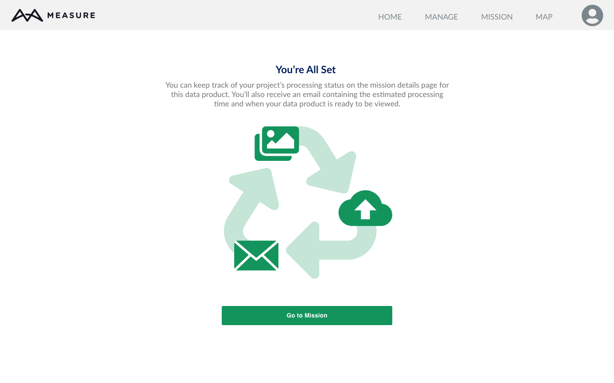
Congratulations, you've successfully submitted your raw image data for processing!!!
Next Steps
Once the final data product(s) finish processing, you will get an email notification: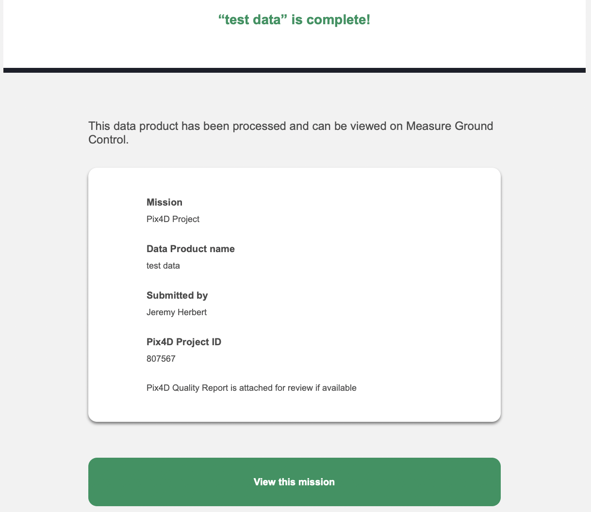
Navigate to the Mission Detail page in which the processing job was associated:
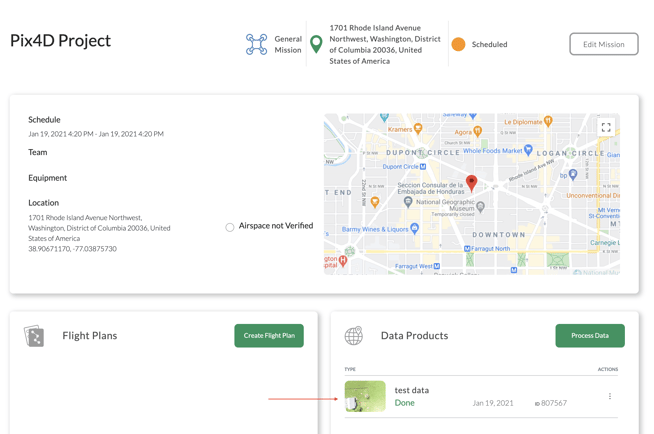
Or click the Manage link in the top navigation, and select Data Products from the drop-down: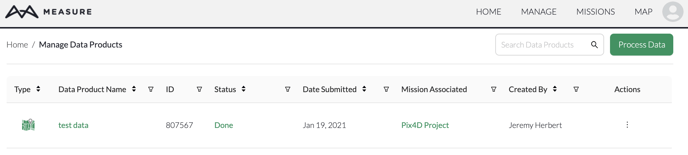
Related Articles
Have questions or feedback? Please contact support.groundcontrol@ageagle.com