If you are entering your GCPs one by one, this is the process
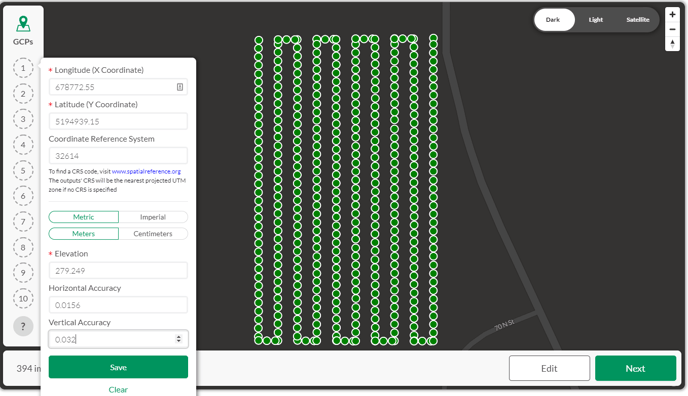
To add your GCPs manually, click on one of the dots on the left-hand side to open the GCP entry screen.
- As each GCP is added, it will be displayed in the corresponding location on the map preview.
- If entering your GCPs via manual entry fill in each of the necessary pieces of information in the form and click save:
- You will then receive a confirmation that the GCP has been added, and is ready to be marked. GCPs that are orange in color have been added but have not yet been marked. Once a GCP has been marked, it will turn blue.
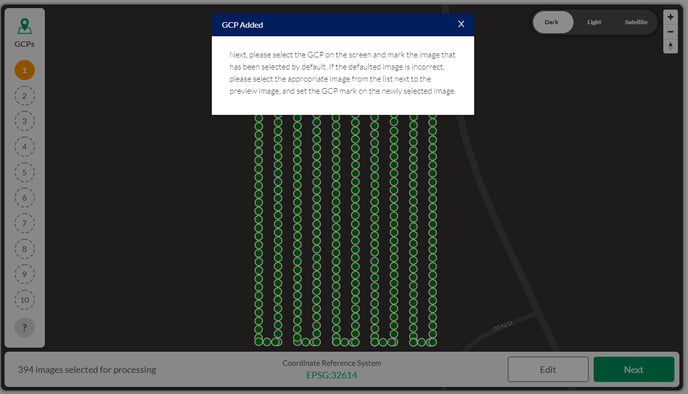
- From here you can either mark the GCP that has just been added, or you can add all the GCPs at once.
Related Articles:
- How to Use and Mark GCP
- Process Data in Measure Ground Control
- How to Fly Your First Flight with Ground Control
Have questions or feedback? Please contact support.groundcontrol@ageagle.com