How to perform image inspection/annotation in Scopito
Note: The guide below is for a T&D mission. Inspection/Annotation workflows may vary for different mission types.
Using Scopito
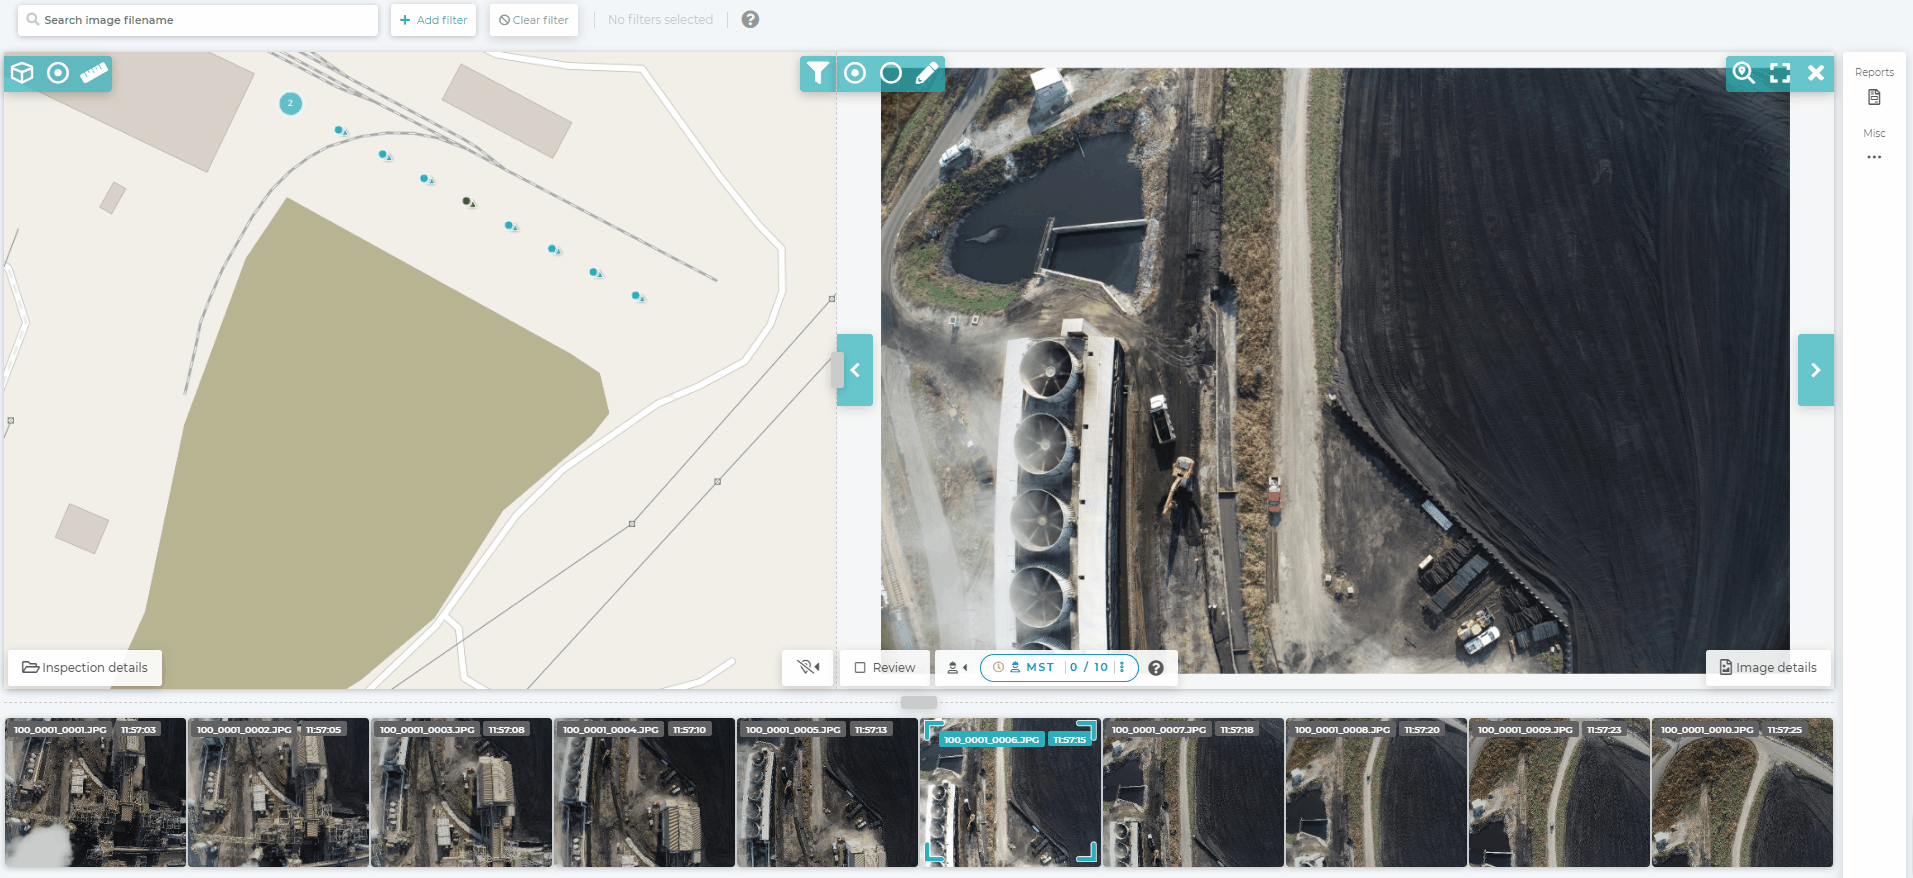
When your data product is ready for analysis, go ahead and click the icon, and you'll be brought into our Scopito integration, with the location already zoomed into your mission site:

Navigation
From this screen, you have a lot of options regarding what you can do. Here's a quick rundown of some of the tools/features available:
Top left buttons:

- Grouping icon - Toggle the grouping of your images. This can be useful to help organize your view in the Scopito map if you have multiple clusters of images across your Scopito product.
- Large view fit - Zoom to your data if you lose track of the locations of your imagery.
- Map Measurement Tool - Perform linear/areal measurements on the map for comparisons. Units are not currently configurable.
Top right buttons:

- Filter icon - This button will filter the imagery below the map to the images within the map's extent.
- Fullscreen mode - Get a larger view of the map.
Bottom Left Buttons:
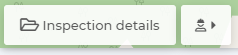
- Inspection details - View some information about your data product.
- Workflow Lineup - Provides information about which images have already been reviewed. More on this later.
Top Navigation Bar:

- Inspection name search bar - Choose which organization you want to see related inspections.
- Image Filename search bar - Quickly search for the file you're looking for.
- Add/Clear Filter - Filter the imagery shown based on problem severity or other tags
- Altitude Slider- Filter the imagery shown based on a range of altitudes.
Right Sidebar
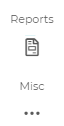
- Reports - Generate Image based PDF reports or Tabular CSV Reports
- Misc - Adjust some UI settings. The list overview option is very helpful for getting a quick overview of your images' information in a tabular view.
Adding annotations
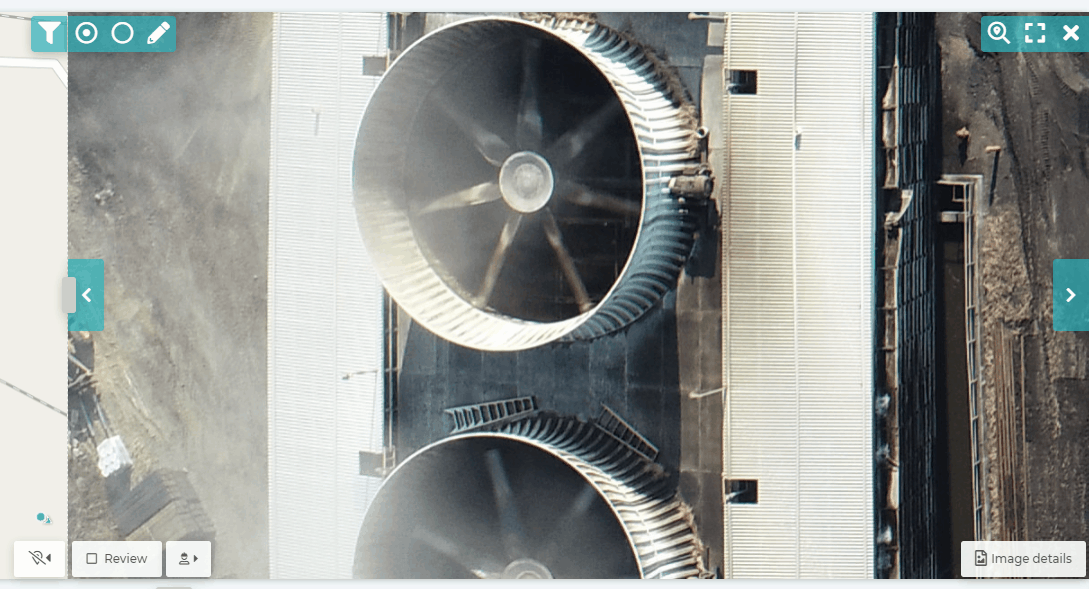
Once you decide on a view that you like, you can go ahead and click an image, either from your image list below or directly on the map. An image viewer window will open beside the map viewer:
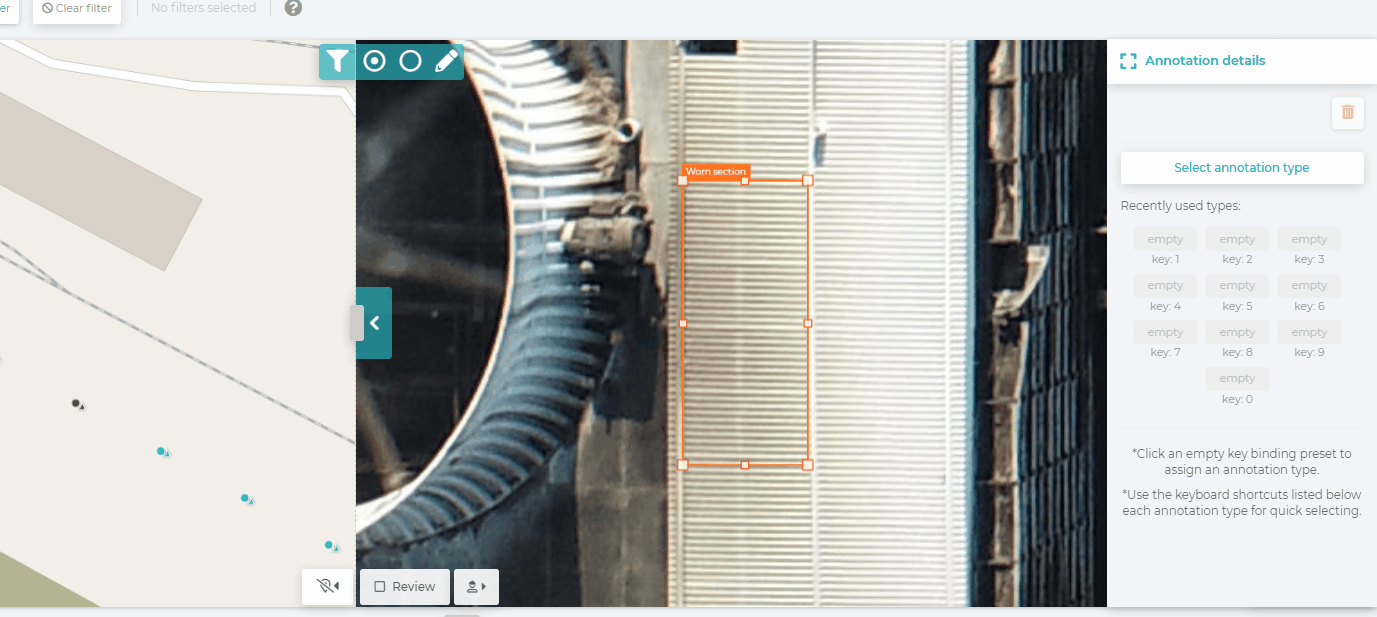
From here, you can adjust your views to see the image more clearly. When you've found a comfortable image view and something you would like to annotate, click the annotate button and draw an annotation:
Annotation Details
From here, choose the appropriate annotation type (this will vary depending on the type of mission), and the severity of the matter. You can write any remedial actions that might need to be taken regarding the annotated object as well as any additional relevant comments.
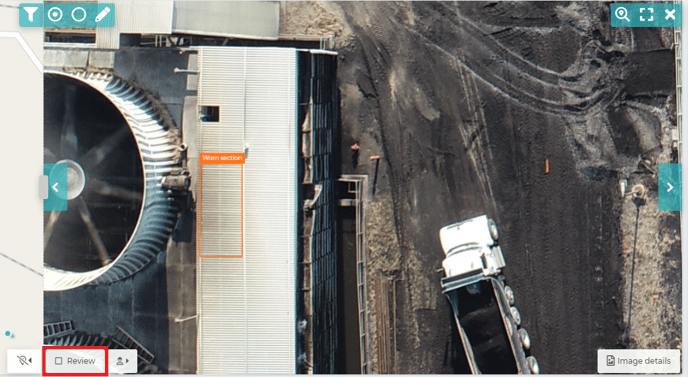
Repeat this process to add additional annotations as needed to the image. When you've finished inspecting this image, click the checkbox next to Review in the bottom left corner:
Annotating other images
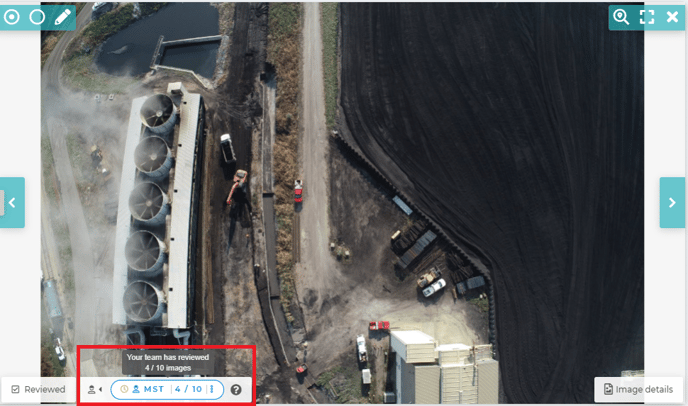
This image is now marked as fully reviewed. From here, go ahead and click another image, examine it, add any annotations necessary, and mark it as reviewed.
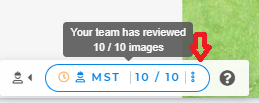
You can also expand the workflow lineup (next to the reviewed button) to see how many images still need to be reviewed:
As you complete the process of annotating/reviewing your images, the image location points on the overview map to the left of the image view will update with the colors of your inspection severities:
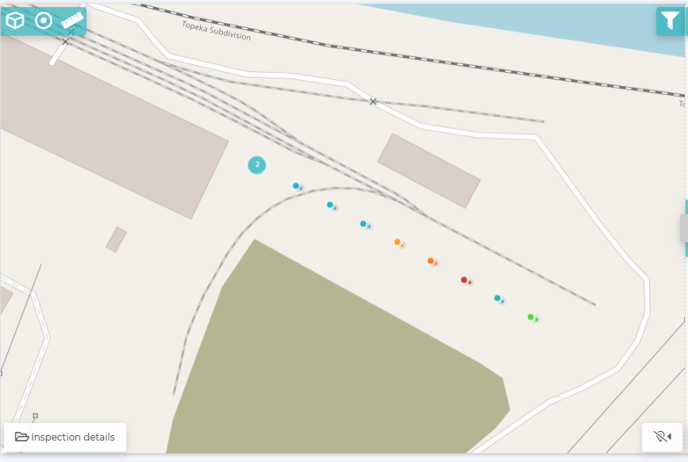
A blue point represents an image with no annotations, and a green point represents the currently selected image in the image viewer.
Completing your inspection
When the inspection is complete, click the 3-dot vertical menu button in the Workflow Lineup (next to the image review count):
Click Complete Analysis. You will be asked to confirm that the analysis is indeed complete: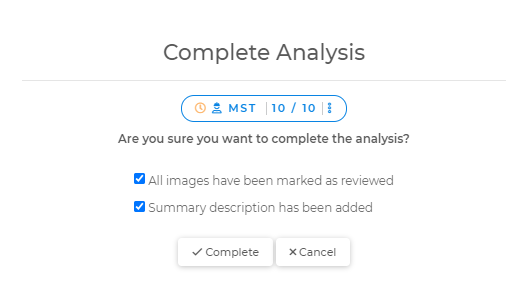
From here you will receive a confirmation that your analysis is complete:

Related Articles
- Data Products Available through MGC
- Getting Started with Scopito
- Creating Reports with Scopito
- Scopito Video Tutorial
Have questions or feedback? Please contact support.groundcontrol@ageagle.com