Schedule missions, assign resources, resolve conflicts, and keep your drone program running smoothly
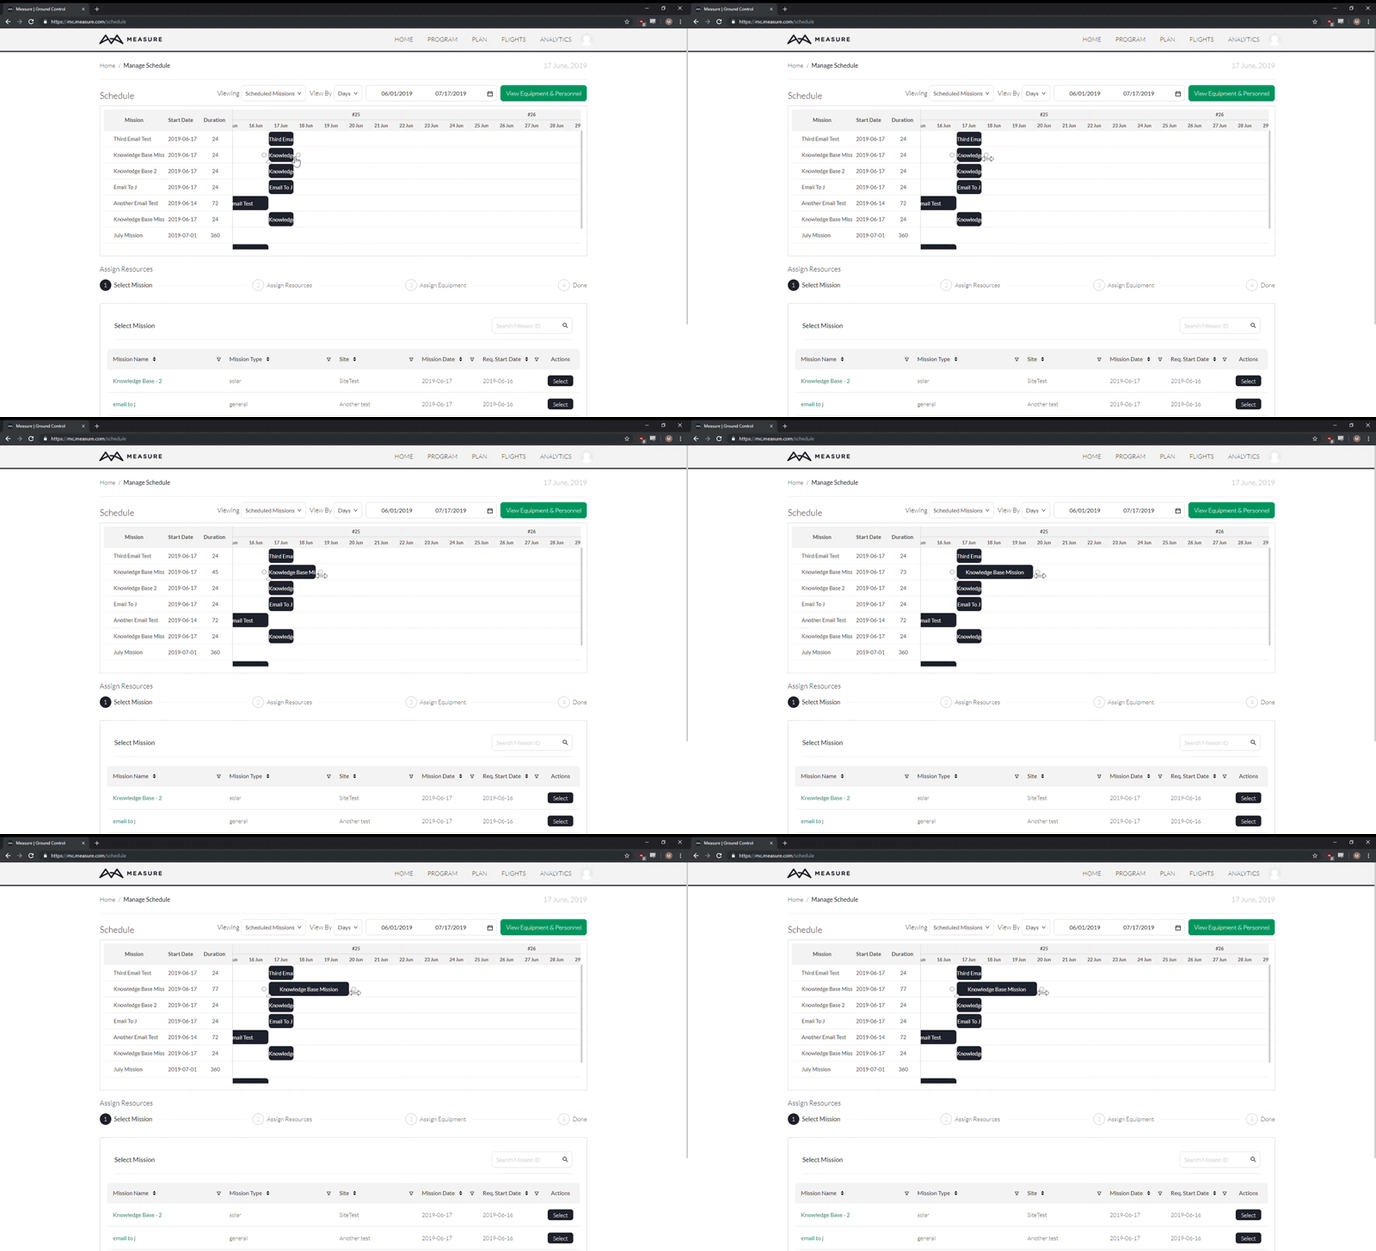
Users with the Administrators permission can access the Schedule tool (Manage -> Schedule), where they can get an overview of the current state of their drone program. The schedule can be toggled between the Mission Schedule and the Equipment and Personnel Schedule by clicking the pertinent View Schedule button in the top right of the screen.
The Schedule tool displays a Gantt chart of all activity for the selected schedule (missions for the Mission Schedule; drones, accessories, and users for the Equipment and Personnel Schedule). Users can filter the Mission Schedule by:
- Date range (hours, days, weeks, months)
- Scheduled missions
- Unscheduled missions
The Equipment and Personnel Schedule can be filtered by:
- Equipment
- Pilots
Scheduling Missions
By default, Measure Ground Control will schedule missions for the dates the mission was created with. Administrators can use the Schedule to change dates and mission lengths.

To edit a mission's dates, simply click and drag the mission in the Gantt chart view. Missions can be shortened and lengthened and moved earlier and later in time. You can also double-click the mission and edit the time in the window.
Assigning Resources
Administrators can use the Assign Resources tool on the Schedule page to assign and unassign people and equipment from missions.
Step 1 - Select Mission
In the Assign Resources section, select the mission to be edited. By default, missions are sorted by start date. Missions can be sorted and filtered by:
- Mission Name
- Mission Type
- Site
- Mission Start Date
- Requested Start Date
To select a mission, click Select. To edit the mission's details, select the Mission Name.
Step 2 - Assigning Resources
Next, assign resources to the mission. Resources include Pilots and Data Analysts. Resources can be sorted and filtered by:
- Name
- Role
- Mission Competency
- Aircraft Competency
- Location
To assign a resource to the mission, check the box next to their name. MGC allows resources to be tentatively assigned by selecting the check box under Tentative. Tentatively assigned users will be attached to the mission but can still be assigned to other missions during the same dates.
To unassign resources previously assigned to the mission, uncheck the box next to their name.
Once all resources are selected, click Assign Resources & Continue.
Step 3 - Assigning Equipment
Finally, assign drones and accessories to the mission. Equipment can be sorted by:
- Asset ID
- External ID
- Serial Number
- Brand
- Model
- Store
To assign equipment to the mission, click the check box next to their Asset ID. Assigning equipment bundles can be done by assigning the drone in the bundle to the mission; MGC will automatically assign all relevant accessories to the mission.
To unassign equipment previously assigned to the mission, uncheck the box next to Asset ID.
Once complete, click Assign Equipment & Continue. The confirmation screen will display all Pilots, Data Analysts, and Equipment now assigned to the mission. Pilots and Data Analysts will receive an email notification updating them on their new assignments. Drone Program Managers will receive an email notification when missions are created. Use the Back button to make further changes to the mission; otherwise, you can assign resources to other missions by pressing Assign More Resources.
Related Articles
- Associating Drones and Accessories
- Roles and Privileges Overview
- Managing Drones
- Managing Accessories
- Managing Missions
Have questions or feedback? Please contact support.groundcontrol@ageagle.com
